
Integrating Lovable and Cursor can streamline your AI app development process, allowing you to seamlessly transition between cloud-based and local coding environments.
This workflow enables developers to leverage the best features of both platforms, resulting in a more efficient and collaborative development experience.
In this guide, we'll walk you through the Lovable to Cursor workflow, demonstrating how to import your Lovable projects into Cursor and continue building your AI applications with ease.
Setting Up the Lovable to Cursor Workflow
To begin the process of transferring your Lovable project to Cursor, follow these steps:
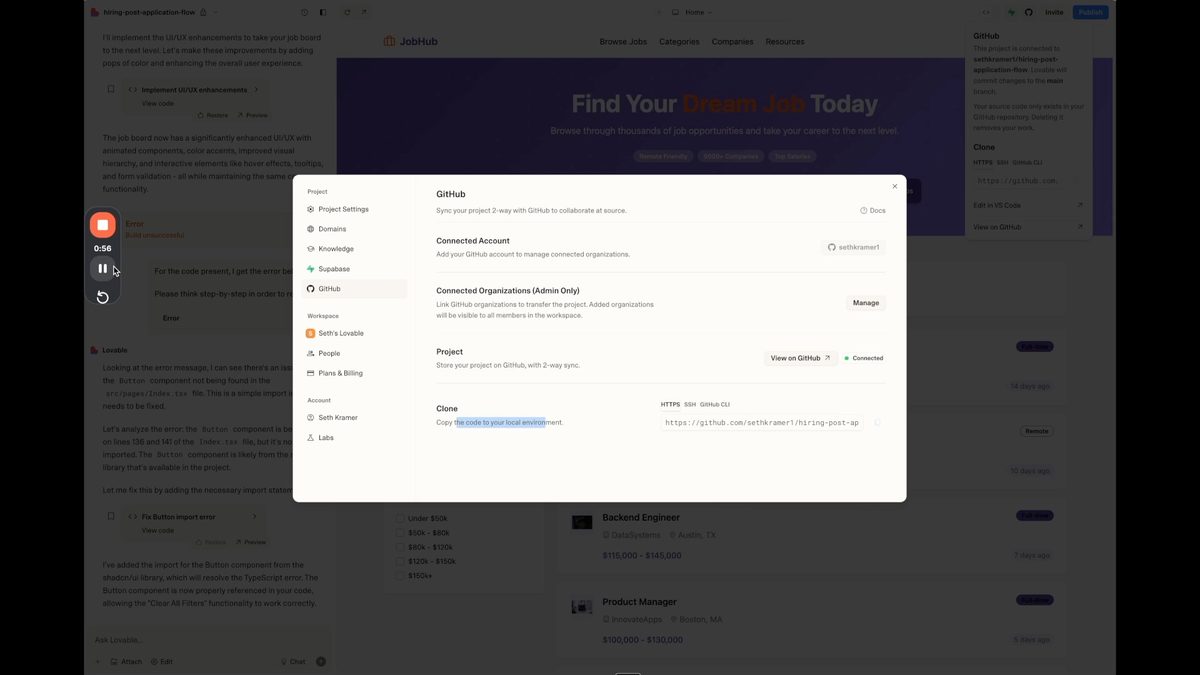
Step 1: Connect Lovable to GitHub
- Log into your Lovable account and navigate to the project you want to transfer.
- Click on the "Connect GitHub" button in the top right corner of the Lovable interface.
- Ensure that your GitHub account is already connected to Lovable. If not, follow the prompts to connect your accounts.
Step 2: Transfer Your Project to GitHub
- In the Lovable project settings, locate the "Project" section.
- Click on "Transfer project into my GitHub account."
- Once the transfer is complete, you'll receive a URL for cloning the repository to your local environment.
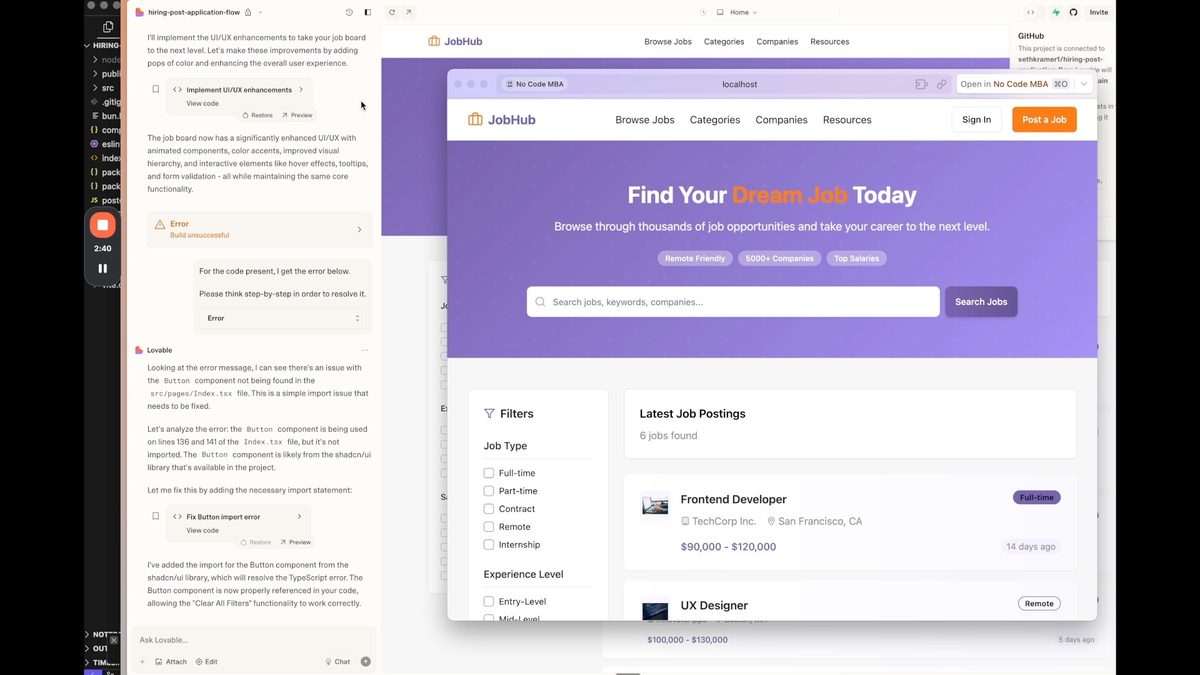
Step 3: Clone the Repository in Cursor
- Open Cursor and click on "Clone repo" from the homepage.
- Paste the GitHub repository URL you received from Lovable.
- Select "Clone from URL" and choose the desired folder on your local system.
- Click "Open" to complete the cloning process.
Running the App Locally and Troubleshooting Common Errors
After cloning the repository, you may encounter some issues when trying to run the app locally. Here's how to address them:
Step 1: Install Dependencies
- Open the terminal in Cursor and navigate to your project directory.
- Run the command
npm installto install the necessary dependencies.
Step 2: Run the Development Server
- Once the dependencies are installed, run
npm run devto start the local development server. - If you encounter any errors, use Cursor's AI assistance to help troubleshoot.
Step 3: Access Your Local App
- After successfully starting the development server, open the provided local URL in your web browser.
- You should now see your Lovable app running locally on your machine.
Making Changes and Syncing Between Platforms
One of the key benefits of the Lovable to Cursor workflow is the ability to make changes in either environment and sync them seamlessly. Here's how to do it:
Using Cursor AI for Code Modifications
Cursor's AI-powered coding assistance can help you make quick and efficient changes to your codebase. For example, to change the header background color:
- Open a new composer in Cursor and ensure you're in agent mode.
- Ask the AI to change the header background color to blue.
- Review the changes suggested by the AI and apply them to your code.
Pushing Changes from Cursor to GitHub and Lovable
After making changes in Cursor, follow these steps to update your project on GitHub and Lovable:
- In the Cursor terminal, run the following commands:
git add .git commit -m "Update header color"git push origin maingit add .git commit -m "Update header color"git push origin main
- Once pushed, refresh your Lovable project to see the changes reflected in the cloud-based environment.
Updating the Local Environment with Changes Made in Lovable
If you make changes directly in Lovable, you'll need to pull those changes to your local environment:
- In the Cursor terminal, run the command:
git pull origin main - This will fetch and merge the latest changes from GitHub into your local codebase.
- Refresh your local development server to see the updates.
Benefits of the Lovable to Cursor Workflow
Implementing this workflow offers several advantages for AI app developers:
- Seamless integration between cloud-based and local development environments
- Ability to leverage Cursor's AI-assisted coding features for faster development
- Improved collaboration through version control and GitHub integration
- Flexibility to work offline or online, depending on your needs
- Easy synchronization of changes across platforms
Tips for Maximizing Efficiency in AI App Development
To get the most out of your Lovable to Cursor workflow, consider these best practices:
- Regularly commit and push your changes to keep your GitHub repository up-to-date
- Use Cursor's AI suggestions to speed up coding tasks and troubleshoot issues
- Take advantage of Lovable's cloud-based features for rapid prototyping and testing
- Implement a consistent branching strategy for better version control
- Utilize Cursor's collaborative features when working with a team
By following this Lovable to Cursor workflow, you can significantly enhance your AI app development process, combining the strengths of both platforms to create powerful and efficient applications. Whether you're working solo or as part of a team, this integrated approach will help you streamline your development cycle and produce high-quality AI apps more quickly.
Learn more about Lovable here:
Ready to take your AI app development skills to the next level? Sign up to access our comprehensive courses on no code and AI development. Learn how to build powerful applications without extensive coding knowledge and stay ahead in the rapidly evolving world of tech.
Frequently Asked Questions
What are the main advantages of using the Lovable to Cursor workflow?
The main advantages include seamless integration between cloud-based and local development environments, AI-assisted coding features, improved collaboration through version control, flexibility to work offline or online, and easy synchronization of changes across platforms.
Do I need to be an experienced coder to use this workflow?
While some coding knowledge is helpful, the Lovable to Cursor workflow is designed to be accessible to developers of various skill levels. Cursor's AI-assisted coding features can help bridge gaps in coding knowledge.
Can I collaborate with my team using this workflow?
Yes, this workflow supports collaboration through GitHub integration. Team members can work on the same project, push and pull changes, and use version control features to manage the development process effectively.
How often should I sync my changes between Lovable and Cursor?
It's best to sync your changes regularly, ideally after completing each significant feature or modification. This helps maintain consistency across platforms and reduces the risk of conflicts.
What should I do if I encounter merge conflicts?
If you encounter merge conflicts, carefully review the conflicting code in Cursor. Resolve the conflicts manually by choosing which changes to keep, then commit and push the resolved code to GitHub.
Advertiser disclosure: some links on this website are affiliate links, meaning No Code MBA may make a commission if you click through and purchase.